

In the whimsical world of 3D printing, layer height is the unsung hero that can make or break a project. Imagine crafting a stunning masterpiece only to realize it looks like a lumpy potato. Not exactly the goal, right? Understanding layer height is crucial for anyone looking to elevate their printing game.
Whether you’re a seasoned pro or just dipping your toes into the 3D printing pool, mastering layer height can transform your prints from drab to fab. It’s the difference between a sleek, smooth finish and a bumpy ride through the land of mediocrity. So buckle up as we dive into the nitty-gritty of layer height and discover how it can help you achieve those jaw-dropping results you’ve always dreamed of.
Understanding Layer Height 3D Printing
Layer height defines the thickness of each individual layer deposited during the 3D printing process. It significantly influences the overall print quality, affecting detail resolution and surface smoothness. A smaller layer height, such as 0.1 mm, produces finer details and smoother surfaces but increases print time. A larger layer height, like 0.3 mm, reduces print time, although it sacrifices some detail and surface quality.
Print quality varies with different applications. Detail-oriented projects often benefit from a smaller layer height, while functional parts prioritize strength and may utilize larger heights. Factors influencing the ideal layer height include the printer’s capabilities, material type, and the desired finish.
Understanding how layer height impacts print strength is essential. Thicker layers generally produce more robust parts, while thinner layers can result in weaker structures due to the increased potential for layer delamination. Users must balance aesthetic requirements against mechanical properties when selecting layer height settings.
Adjusting layer height also involves other settings. Users should consider print speed, nozzle size, and material viscosity. A large nozzle, for instance, typically pairs well with thicker layers. Experimentation with these settings leads to optimal results for specific projects.
Choosing the appropriate layer height ultimately depends on print objectives. Evaluating whether the goal is intricate design or rapid prototyping helps determine the right settings. Mastery of layer height unlocks the potential for impressive 3D printing outcomes.
Importance of Layer Height in 3D Printing
Layer height plays a vital role in determining the outcome of a 3D print. Understanding its nuances can significantly enhance quality and functionality.
Impact on Print Quality
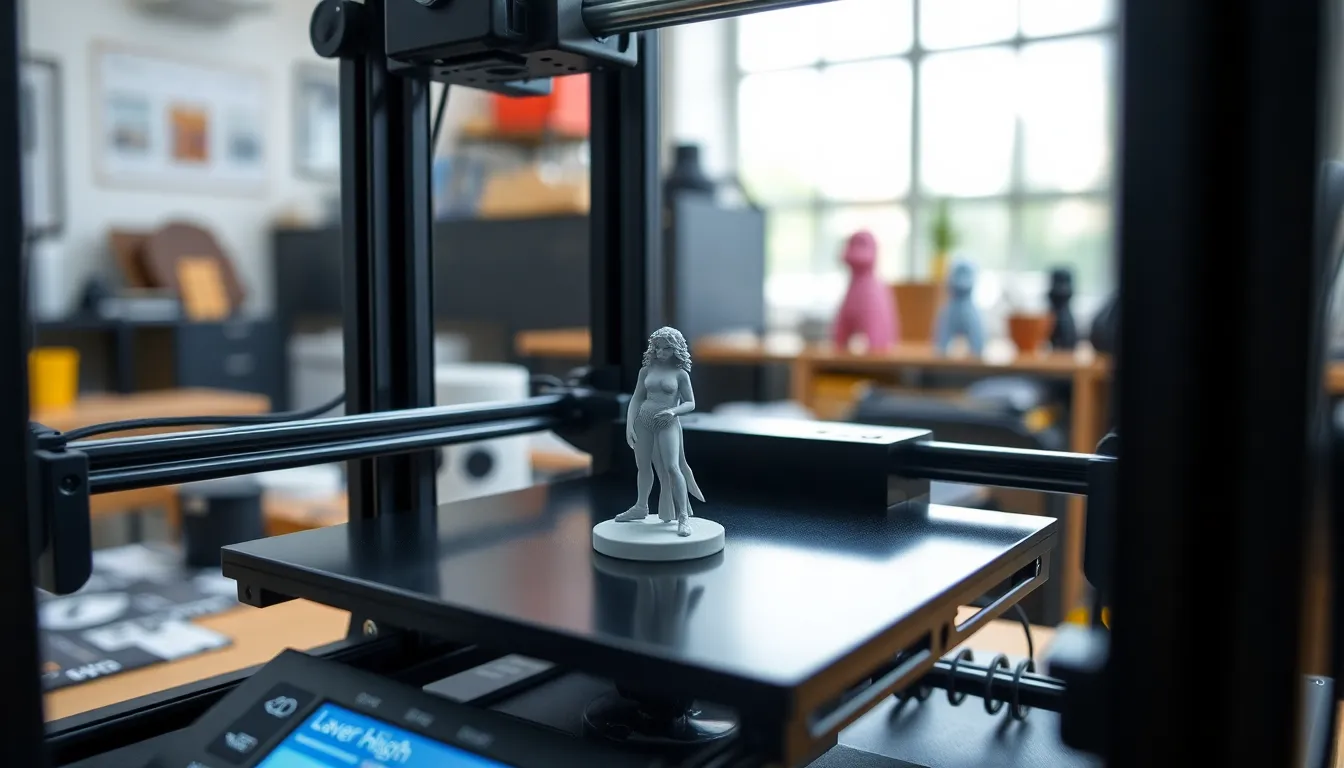
Print quality heavily relies on the chosen layer height. Smaller layer heights, around 0.1 mm, deliver higher detail and yield smoother finishes. Such precision is essential for intricate designs like figurines. Larger layer heights, typically 0.3 mm, can trade off fine detail for speed, suitable for functional parts where strength is prioritized. The overall appearance of the print can change dramatically based on these settings. Users achieve a polished look with thinner layers, while thicker layers may result in visible lines or imperfections. This differentiation highlights the importance of matching layer height to the specific requirements of each project.
Influence on Print Speed
Layer height directly affects print speed, with thicker layers resulting in quicker completion times. A 0.3 mm layer height can significantly reduce the time needed for a print compared to a 0.1 mm height. While some projects may benefit from reduced time, it’s vital to evaluate the trade-offs regarding detail and finish. Users often find that balancing print speed with quality enhances the overall performance of their 3D printer. Rapid prototyping benefits from larger layer heights, especially when time is a crucial factor. Each choice in layer height influences print efficiency, making it essential to determine the primary objective before starting a project.
Choosing the Right Layer Height
Selecting the right layer height enhances the 3D printing outcomes. Several factors affect this decision.
Factors to Consider
First, project requirements significantly dictate layer height. Detail-oriented projects demand smaller layer heights, while functional parts benefit from thicker layers. Print speed also plays a crucial role. Thicker layers reduce print time, which may be necessary for rapid prototyping. Mechanical properties shouldn’t be overlooked; robust parts often come from increased thickness. Material type influences performance as well. Certain filaments perform better with specific layer heights. The nozzle size must harmonize with chosen settings to ensure optimal results. Balancing these elements leads to the best final product.
Common Layer Height Settings
Commonly, 0.1 mm height suits intricate designs needing fine detail and a smooth finish. A setting of 0.2 mm serves as a versatile choice for various applications, striking a balance between detail and speed. 0.3 mm height optimizes print time, making it suitable for functional components requiring strength over fine details. Some advanced printers allow even larger layers, like 0.5 mm, for quick, robust prototypes. Always consider the project goals and desired finish when selecting layer settings. Understanding these common choices helps users navigate the complexities of 3D printing.
Adjusting Layer Height in Different 3D Printers
Adjusting layer height varies among different 3D printers, as specific models may offer unique settings. Each printer’s firmware provides options for layer height, usually accessible in the slicing software. Users should select appropriate layer heights based on their goals and printer capabilities.
Smaller layer heights, such as 0.1 mm, allow for high detail, making them ideal for intricate designs. Conversely, larger heights, like 0.3 mm, streamline the printing process while sacrificing some detail. Print speed improves significantly with thicker layers, beneficial for rapid prototyping projects.
Many FDM printers support standard layer heights. Commonly, 0.1 mm suits detailed prints while 0.2 mm achieves a balance between speed and quality. For users seeking quick prototypes, a 0.5 mm setting may suffice.
Some advanced printers, particularly SLA or DLP types, support different layer adjustments. Longer exposure times at smaller layer heights enhance detail retention in resin prints. Finding the right layer height is important to match material types and intended applications.
Print quality often changes with layer height adjustments. A slight increase in layer height may result in visible lines on finished models, while reducing height enhances surface smoothness. Users can address mechanical properties through strategic layer height choices, especially when strength is crucial.
Fine-tuning these settings requires observation and experimentation. Manufacturers recommend referring to their guidelines for optimal height settings. Experimentation leads to better understanding of layer height implications on print quality and time, allowing adjustments suited to project needs.
Mastering layer height is essential for anyone looking to enhance their 3D printing results. By understanding the balance between detail and speed users can tailor their settings to suit specific project needs. Whether aiming for intricate designs or functional parts selecting the right layer height can make all the difference.
Experimentation remains key as users navigate the complexities of different printers and materials. With practice and observation they can unlock the full potential of their 3D printing capabilities. Ultimately the journey to perfecting layer height will lead to impressive and satisfying results in every print.


